I first heard about Daily 5 a few years ago, when I first joined Pinterest. I didn’t have a clue what Daily 5 was, but I kept seeing blog posts, and products in TpT, and I thought well certainly if this was al the rage, I wanted in. I thought, “Oh cool – Read to Self, that must be independent reading, Read to Someone (partner reading)” and so on. I can do this too!
There was one problem. I didn’t actually read the book. But man, I had the names down pat. I also wasn’t doing Daily 5 that year…I just had Daily 5 names for independent and partner reading. I also finished the year, thinking I didn’t really get what the big deal was.


And then, I actually read the book…and I totally got it. The integral part of my “Daily 5” that was missing was what you’ll find in Chapter 3: The 10 Steps to Teaching and Learning Independence. If you’re just joining, you may want to read the Ch. 1 & 2 Book Study post here.

Chapter 3 really is the heart of D5 – it’s what makes it work. For those of veteran D5 ers, if I asked you to take away the teaching of the D5 routines and procedures, modeling, I-charts, etc…would D5 still work in your classroom? Probably not.
One of the many things I love about the second edition is that there’s a whole chapter dedicated to the 10 Steps of Independence – it’s not that they don’t discuss them in the first book, they do. But the second edition presents in a way that, I think, is more meaningful (and in a way that can you can apply to anything and everything that is routine and/or procedure based in your classroom).
So what are the 10 Steps to Teaching and Learning Independence? A research based way to “improve muscle memory, build independence, and increase stamina.” According to the 2 Sisters, this is what sets D5 apart from other instructional frameworks and management systems, and I couldn’t agree more!
Step 1: Identify What is to be Taught
I didn’t realize until reading the second edition that all of my anchor charts (not just those related to D5) have either a question or a heading that clearly states what will be learned. I don’t know if I picked this up from reading the first book, or if it came out of the requirement to have essential questions (EQs/LEQs) posted during lessons. Maybe both. Either way, it’s a wonderful way to get students thinking about what they will be learning right from the beginning.
Step 2: Set a Purpose and Create a Sense of Urgency
I don’t know about you, but as an adult, I find myself asking “why” an awful lot. I’m happy to do anything anyone asks of me, but you better be able to rationalize. Apparently, I’ve been this way from a very young age, go ahead, ask my mom.
The kids I know, are much the same way. Especially for my reluctant-to-do-anything kiddos, when I explain why something is necessary, I get far better results than when it comes without the rationale.
The 2 Sisters recognize this as well, and the “whys” are integrated right from the beginning, which I love! In the first book, the 2 Sisters brainstormed with students the “whys,” but in the second edition, they admit that it is very time consuming (which it is). So now, they no longer brainstorm with the class, and instead just write them as they’re introducing a Daily 5 Choice.
Step 3: Record Desired Behaviors on an I-Chart
Continuing with the theme of saving time, and eliminating brainstorming (for now), the 2 Sisters no longer brainstorm the desired behaviors of a particular D5 choice either. And I’m so glad! I always create anchor charts with my kiddos rather than making them ahead of time, and the information that goes on the chart, usually comes from what my students have to say.
However, the Sisters also recognized that this usually resulted in more ideas than what they really wanted to have on a given I-Chart. The Sisters say that now, they just record each desired behavior, and discuss each one. (Please note, that they are not making the charts ahead of time, they are still creating them with their students.
All behaviors are written in terms of what TO do versus what NOT to do. For example: walk vs. don’t run.
They go on to share how this can be modified for younger learners or learners with less stamina by only writing the first two desired behaviors, and adding the others in a different session. I so appreciate the differentiation and flexibility that is explained in the second edition. I’m sure they realized this just didn’t write it in the first book. For me, it’s reaffirming the “teacher decisions” I make depending on the group of students I have. And they make a point to mention it: “As with everything related to the Daily 5, we let the students who are present in front of us guide our teaching, based upon their experience, stamina, needs, and behaviors.”
Step 4: Model Most-Desireable Behaviors
This is (and step 5) are my favorite parts about the 10 Steps, and my students love it as well! Remember, these are happening on the first few days of school, and so opportunities to get attention from the teacher and others students are huge moments for my kiddos!
Choose a 2 or 3 students, and have them model the behaviors listed on the I-Chart so far. As they’re modeling, you’re drawing the class’s attention to the I-Chart, and noting each behavior that’s being modeled, following up with one of my favorite statements (which can be used ALL year, and for EVERYTHING), “If ____ continues to do these things (I usually list exactly what they’ve done), will he/she become a better _____ (reader, writer, friend, mathematician, scientist, etc…)?”
Step 5: Model Least-Desirable Behaviors, Then Most-Desirable Behaviors Again
Correction. THIS is my favorite! As a class, we get to see the success of students who are what some might call “difficult” or even behavior problems. I intentionally (and the Sisters encourage it) choose a student or two (although, at different times) who might be one of those “difficult” students to model the least-desirable behaviors. Usually, they ham.it.up. They’re singing, telling jokes, talking loudly, wandering around, and even break-dancing (true story).
While the student is really enjoying the attention and laughter, I ask the class to take a look at our I-Chart, and then ask, “If ____ continues to do these things (I usually list exactly what they’ve done), will he/she become a better _____ (reader, writer, friend, mathematician, scientist, etc…)?” Amazingly, this usually brings my sweet model back to the carpet. I don’t even have to ask them. It’s very powerful, as this really sets the stage for creating that sense of urgency that’s so important.
At that point, I ask that same student who was just doing a stand-up comedy routine to again model, but this time to model the behaviors listed on the I-Chart. It’s a beautiful sight. Words cannot do justice what you will witness in this moment. Just as in step 4, I bring attention to the behaviors being modeled, and ask the class that oh so important question, which is followed with a resounding cheer of “YES!!”
Not only has one of your “Barometer” students, as the 2 Sisters call them, showed the entire class that they CAN do it, they’ve heard myself, and the class cheer for them. It’s just so powerful.
Also, the 2 Sisters make exceptions to steps 4 and 5 for kindergartners, as this could be confusing. They address the differences on p. 43. While not a K teacher, I appreciate that they wrote that there are always exceptions, and that the only person who can really decided what and when something is appropriate is the teacher. A little reaffirming is such a boost in confidence!
Step 6: Place Students Around the Room
This is where (in the beginning) the teacher calls over groups of students, and places them in various spots around the classroom – I refer to as “Book Nooks.” Students are also practicing getting their book boxes, which is important in getting started right away.
Eventually, students will choose where to sit during each round of D5, and they make those choices based on where they can do their best work. I’ve had plenty of students realize that they can’t focus and build their stamina sitting in certain locations, and ask if they can sit at their desks. I smile, because I know they’ve realized for themselves, what I wanted them to realize – they’re taking charge of their own learning, and it makes my heart happy.

Speaking of book boxes, I know teachers use all kinds of different things: fabric bags, ziploc bags, plastic bins, sterilite bins, cardboard magazine holders…you name it, teachers use them.
I’ve always used these cardboard magazine files from Ikea($1.49 for 5 – steal of a deal), and they’ve held up well. Plus, my kids get to decorate them at the beginning of the year, which they love. However, this past year, my kids were really tough on them, and they didn’t do so well. Not horribly, but enough that I wanted to explore other options.

Step 7: Practice and Build Stamina
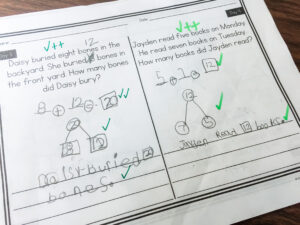
Here’s where the magic really happens! It’s here that students start practicing!!! How exciting! Start small, and don’t be surprised when 45 seconds is as far as you get the first time. Last year, my sweet seconds started with a merely 30-somethine seconds, and by the end of the first three days were at 15 minutes! Every class is different, and will take different amounts of time to build stamina.
A couple of things help greatly in building stamina. First, is a stamina chart that the 2 Sisters share in the book. Here’s what mine looks like. You can download it here or by clicking on the picture.
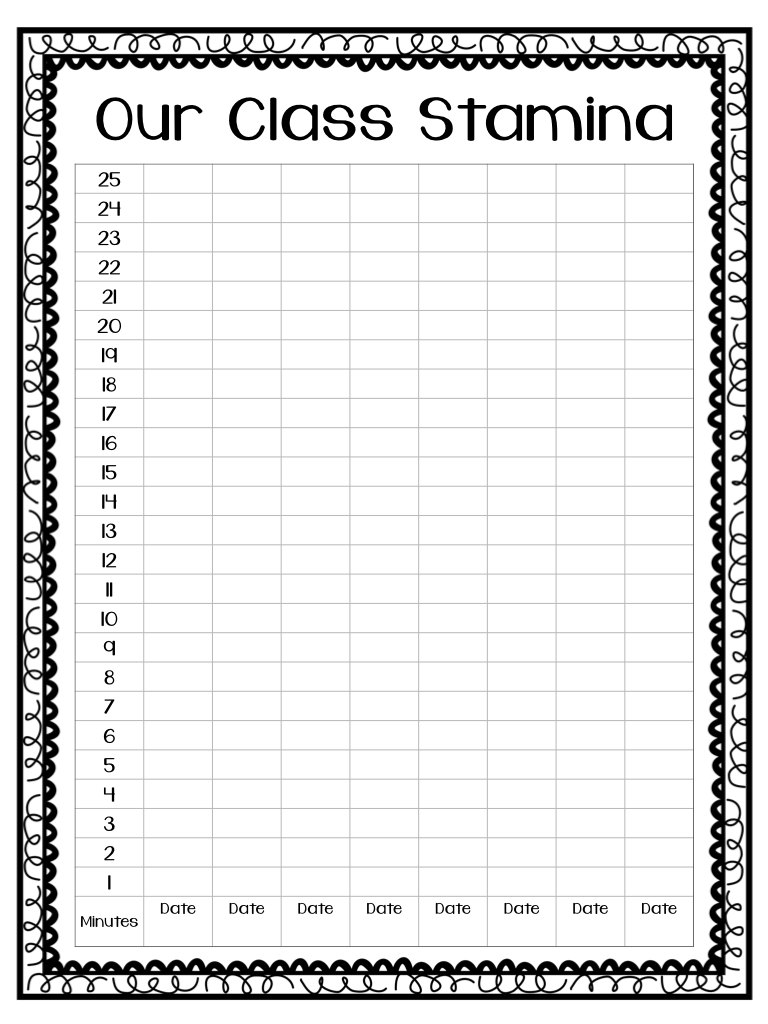
The second is colorful display that I post just outside our classroom door to let everyone know just how hard we’ve been working on our stamina. My sweet seconds LOVE this! We only update it once each day, after our final practice for the day. Grab yours here or by clicking the second picture.


Step 8: Stay Out of the Way
The 2 Sisters share that when they were first developing D5, they would walk around and monitor what the students were doing, only to find that the students then relied on the teacher’s monitoring, and really weren’t independent.
Now, the 2 Sisters doing exactly as step 8 suggests – stay out of the way. I sit exactly where I plan to sit when I work with small groups. My students become familiar with the idea, and everything works great. Usually I have one or two students ask afterwards why I wasn’t working with students. I take a minute to explain that I until we’ve built up our stamina, I need to make sure we’re doing it right. Once we build our stamina, I can start working with students. This also serves as an exciting motivator!
Step 9: Use a Quiet Signal to Bring Students Back to the Gathering Area
I’ve never actually used a sound as the 2 Sisters suggest, mostly because I keep forgetting to buy one. I’d love to have a quiet and light sounding wind chime, but I haven’t yet. I’ve always just used a very quiet voice, almost a whisper to gather my students back at the carpet.
Step 10: Conduct a Group Check-In; Ask, “How Did it Go?”
This is a great time to review the I-Chart, and ask students how it went. This really sets the stage for later on in the year, when I have content-related closings, in which I have students complete an exit ticket, or share with a partner. It’s gets student ready to reflect.
I’ll be posting on chapter 4 this weekend…there’s so much to say, and I didn’t want my post to lengthier than it already is 🙂
See what other bloggers have to say about Chapter 3 (and 4) by going here, and you’ll see everyone who’d linked up at the bottom of the post!