Of all the writing genres, I think personal narrative is the hardest to teach, which is why I’m sharing my favorite 15 personal narrative mini-lessons.
While students all have stories to tell, I’ve found that students struggling telling their story in writing. After teaching personal narrative writing mini-lessons for years, and never feeling like I’ve done it well, I can officially say that I think I’ve found the “secret recipe.”
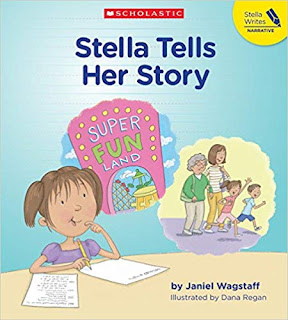
I use a lot (A LOT) of mentor texts that help illustrate various personal narrative traits, but my absolute favorite is Stella Tells Her Story.
It’s written by a TEACHER, someone who actually teaches students how to write personal narratives
The main character, Stella, is a second grade student who needs to write a personal narrative
Writing mini-lessons are built right write (see what I did there?) into the story
It’s super relatable for students – they are amazed to hear words that their teacher has said about writing
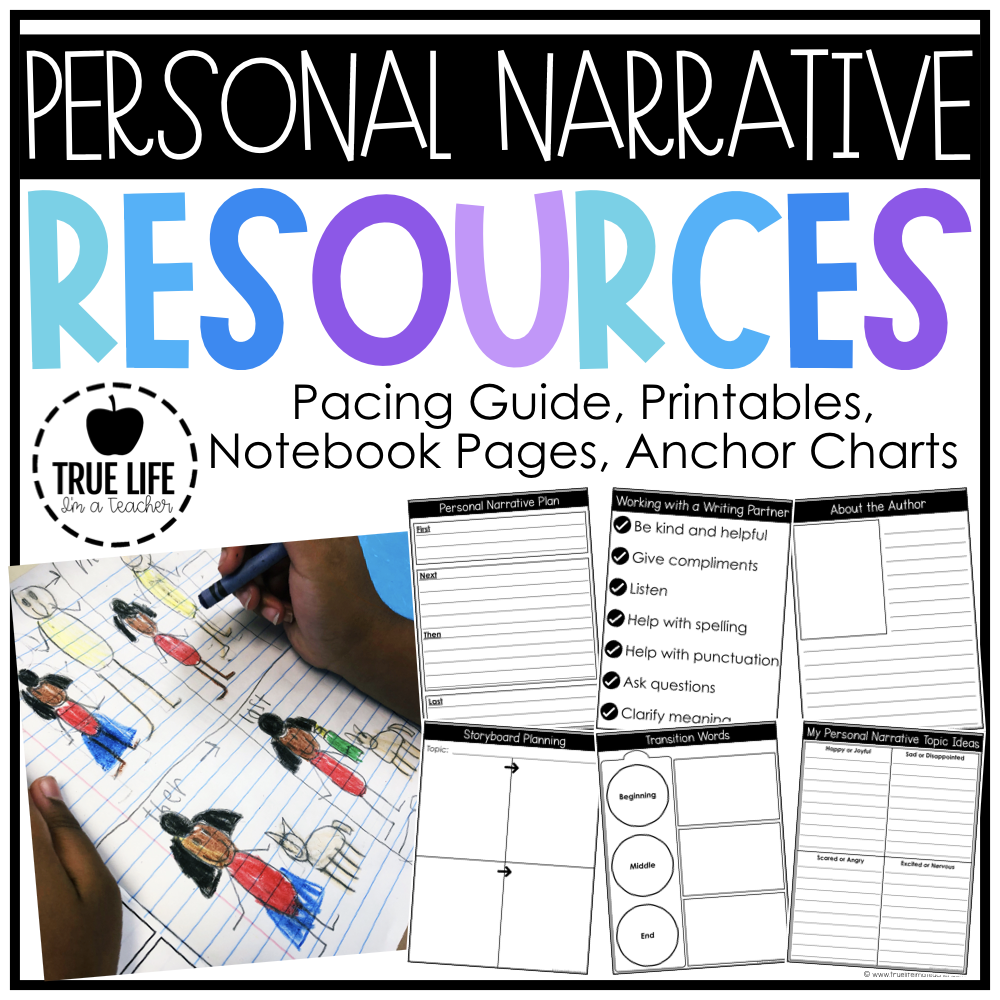
Here’s how I teach personal narrative writing using Stella Tells Her Story. Throughout the 15 personal narrative mini-lessons, I also use notebook pages, resource pages, planning pages, and printables which can be found HERE.
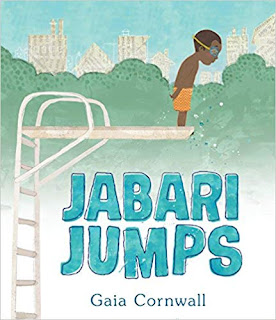
Optional Lesson Before Day 1 – What is a personal narrative? Use a different personal narrative mentor text (I’ve got a list of my favorites HERE) – I HIGHLY recommend Jabari Jumps.
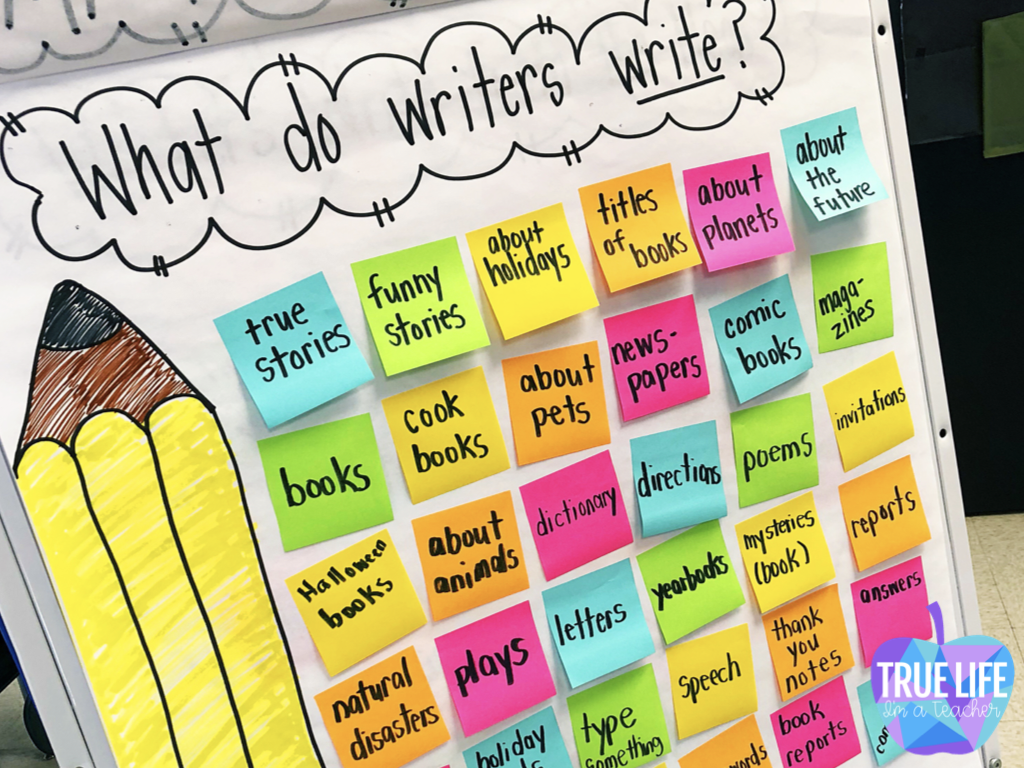
Day 1 – Read p. 3 – 9. Create a class topic chart. Students turn and talk to share an idea they have for writing.
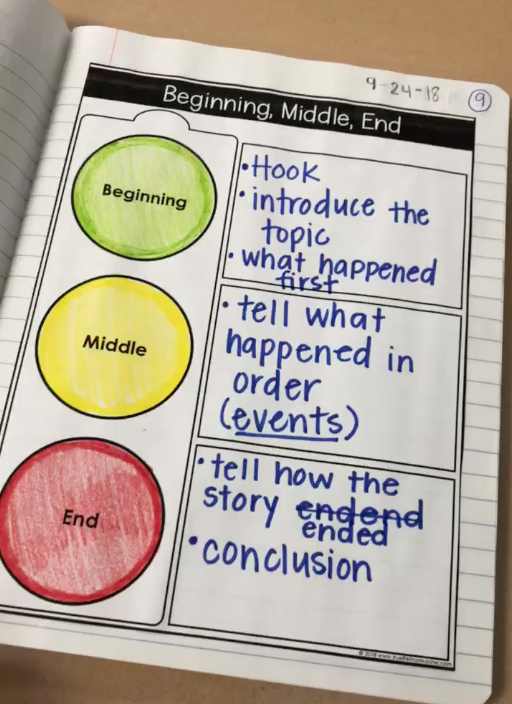
Day 2 – Read p. 10 – 11. Create an anchor chart for parts of personal narrative writing. Create a list of transition words to use in each part. I have students glue a beginning, middle, end page and a transition word page into their writer’s notebooks.
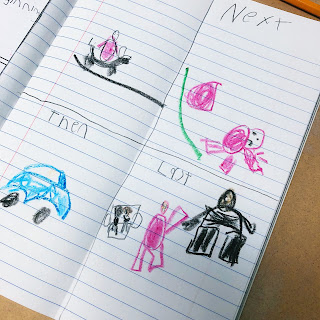
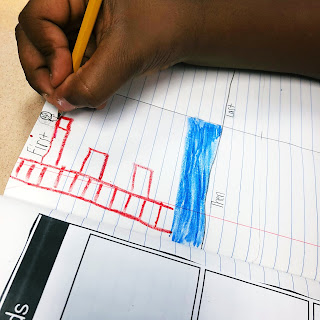
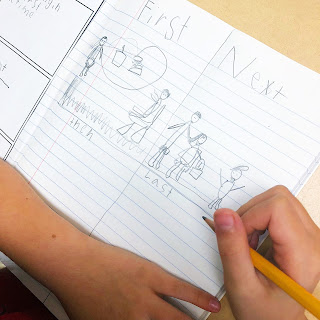
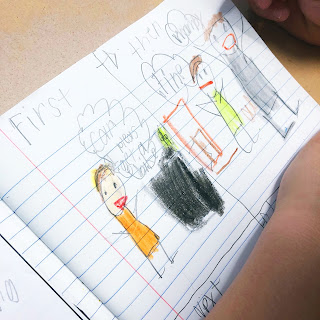
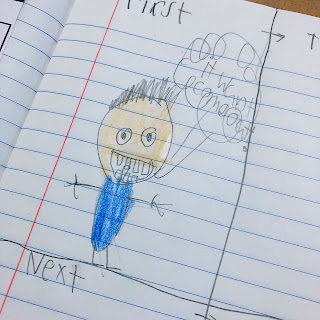
Day 3 – Read p. 12 – 14. Model creating a plan for your story. Students create a plan for their story. I had my students DRAW their story plan first, by drawing a SIMPLE graphic organizer in their notebooks. I explained that a story board is how movies and tv shows are planned. They were fantastic!
Day 4 – Read p. 15. Model adding a few details to your plan. Students will add a few details to their plan.
Day 5 – Read p. 16. Model writing the beginning of your story. Students will write the beginning of their story.
Day 6 – Read p. 17. Model writing the middle of your story. Students will write the middle of their story.
Day 7 – Read p. 18. Model continuing to write the middle of your story. Students will continue to write the middle of their story. Students will want to say they’re finished, but prompt students will questions so they can add more details.
Day 8 – Read p. 19. Model continuing to write the middle of your story. Students will continue to write the middle of their story. Students will want to say they’re finished, but prompt students will questions so they can add more details.
Day 9 – Read p. 20. Model continuing to write the middle of your story. Students will continue to write the middle of their story. Students will want to say they’re finished, but prompt students will questions so they can add more details.
Day 10 – Read p. 21. Model writing the end of your story. Students will write the end of their story.
Day 11 – Read p. 22 – 23. Model how to share your writing, and how to ask questions about someone’s writing. Partner students so that they can practice sharing their story with a partner. Partners will ask questions, provide feedback, etc.
Day 12 – Read p. 24 – 25. Introduce students to the concept of revising. Model revising a small part of your writing. Students find a place in their own writing that can be revised. (Add a word to describe, change a word, delete a word, etc.) I have students glue an revising checklist into their writer’s notebooks.
Day 13 – Review p. 24 – 25. Introduce students to the concept of editing. Model making an edit to your own paper. Students find places in their own writing that need to be edited. (Capitalization, punctuation, etc.) I have students glue an editing checklist into their writer’s notebooks.
Day 14 – Read p. 26 – 27. Introduce students to the concept of publishing. Then, create a list with students of things that should be done when publishing (best handwriting, correct spelling/punctuation, special paper, etc). I have students glue a publishing checklist into their writer’s notebooks. Students will write their finished stories on publishing paper.
You may want to invite parents and/or administrators to a “publishing party.” I use a very simple invitation that each student fills out, and takes home.
Day 15 – Read p. 28 – 30. Students will share their writing.I have plan shared above as a printable version is my personal narrative writing resources product, which you can find HERE, or by clicking the image below.
Keep in mind:
Nothing ever goes exactly as planned, and you may need to spend more than one day on each mini-lesson.
Publishing may take longer than one day, especially if you want students to add illustrations to their writing.
You may want to consider a “publishing party” in which you invite families to join in the writing celebration. Take pictures, have a special author’s chair, invite your administration. Students are THRILLED to have an audience (other than their teacher) with whole to share their writing.
Write your own personal narrative ahead of time. Plan where you are going to make intentional mistakes so that you can model how to revise and edit in front of your class.